 Save
Save My neighbor arrived one humid afternoon with a cardboard box overflowing with guavas from her tree, and I realized I had no choice but to learn how to preserve them or watch them rot. Standing in my kitchen surrounded by those fragrant, pale-green fruits, I found myself oddly excited about the challenge—something about the tropical sweetness filling the air made me want to capture that moment in a jar. That first batch taught me that making preserves isn't just about following steps; it's about understanding when your fruit is ready to transform into something golden and thick. Now, years later, I can't imagine my pantry without at least one jar of guava jam waiting for the right moment.
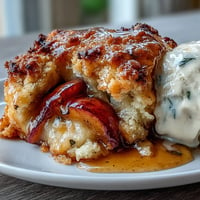
I'll never forget serving this preserve alongside a creamy aged cheddar at a dinner party, watching my usually quiet friend close her eyes after the first bite and ask where I bought it—that moment of saying "I made it" felt as good as tasting it myself. The whole evening shifted after that, with people lingering over the toast and jam, asking for the recipe, suddenly understanding why I'd been so obsessed with getting it right.
Ingredients
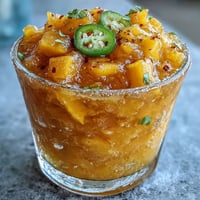
- Ripe guavas (1.5 kg or about 10–12 medium): Ripeness is everything here—they should yield slightly to pressure and smell intensely sweet, not hard or pale, because underripe fruit will turn bitter no matter what else you do.
- Granulated sugar (700 g): This ratio strikes the balance between preservation and taste, though I've learned you can reduce it slightly if your guavas are particularly sweet.
- Fresh lemon juice (2 tablespoons): This isn't just acid for preservation; it brightens the tropical sweetness and prevents the preserve from tasting flat or one-dimensional.
- Water (1 cup): The guavas release their own liquid as they cook, so this water helps them break down evenly without scorching on the bottom of the pan.
Tired of Takeout? 🥡
Get 10 meals you can make faster than delivery arrives. Seriously.
One email. No spam. Unsubscribe anytime.
Instructions
- Prepare your guavas with intention:
- Wash each guava under cool water, then quarter them carefully and scoop out the seeds with a small spoon—it's tedious, I know, but saving the pink flesh while ditching those hard seeds makes all the difference in the final texture.
- Soften the fruit gently:
- Combine your guava flesh with the water in a large saucepan and bring it to a boil, then dial back the heat to a gentle simmer for about 15–20 minutes until the fruit breaks apart easily when pressed with a spoon.
- Decide your texture preference:
- Mash everything with a potato masher if you prefer a rustic, chunky jam, or give it a quick pulse with an immersion blender for something smoother—just don't overblend into baby food.
- Push through the sieve for elegance:
- Press the mashed mixture through a fine sieve or food mill to catch any remaining seeds and stray fibers, which transforms it from homemade-looking to restaurant-quality in one simple step.
- Bring the mixture to its moment:
- Return your smooth pulp to the saucepan, add the sugar and lemon juice, and stir constantly as it heats to a boil—you'll notice the aroma shift from sharp and fruity to something richer and more jammy.
- Cook with patience and attention:
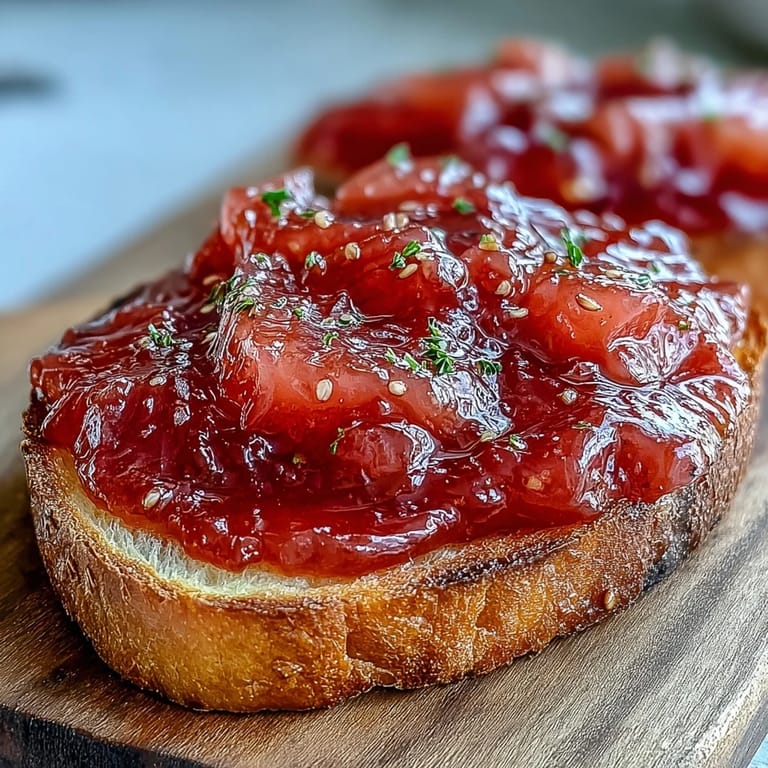
- Once boiling, reduce the heat to medium and let it bubble away for 35–45 minutes, stirring frequently to prevent any sticking on the bottom, watching as the color deepens from pink to a deeper amber-red.
- Test for the perfect set:
- Drop a small spoonful onto a chilled plate—if it wrinkles when you push it with your finger, you've reached that magical moment when it's jam, not syrup.
- Jar it while it's singing:
- Skim off any foam, then ladle the hot preserve into sterilized jars, leaving a half-centimeter of space at the top, and seal immediately so the lids pop as they cool.
 Save
Save There's something almost ceremonial about standing over a pot of thickening jam, watching the transformation from fruit to preserve happen in real time, knowing that in twenty minutes you'll have something that tastes like sunshine and patience stored in glass. My daughter now asks me to make it every summer, and I've started leaving jars with friends who've had rough weeks, because somehow a homemade preserve says "I was thinking of you" in a way store-bought never could.
The Art of Guava Selection
Finding the right guavas is half the battle, and it taught me to trust my nose more than my eyes—a truly ripe guava practically announces itself in the produce section with its powerful, almost floral sweetness, while a hard, pale one will leave you disappointed every single time. I've learned to buy them a day or two before I plan to make jam, letting them sit on the counter until they yield just slightly to a gentle squeeze, which is when their flavor and texture are perfectly poised for transformation.
Beyond the Jar: What to Do With Your Preserve
Once you have a jar of guava preserve, the possibilities expand faster than you'd expect—I've stirred it into plain yogurt for instant elegance, swirled it into cheesecake batter, glazed ham with it, and even mixed it with softened cream cheese for an unexpectedly sophisticated sandwich spread. The beauty of homemade preserves is that they're concentrated and complex enough to work in sweet and savory contexts, which means you're not just making jam, you're creating an ingredient that elevates everything it touches.
Storing and Gifting Your Creation
Proper storage is what separates a preserve that lasts three months from one that lasts three years, and the choice depends on whether you're keeping it for yourself or sending it out into the world as a gift. If you're serious about long-term storage and gifting, a boiling water bath process (submerging your sealed jars in boiling water for about ten minutes) creates a shelf-stable preserve that can travel and age beautifully, though refrigerating unsealed jars works perfectly well if you plan to use them quickly.
- Label your jars with the date and contents, not because anyone will forget what's inside, but because it forces you to actually use them before they need to be made again.
- Dark glass or storage in a cool, dark cupboard extends the life of your preserve by protecting it from light, which can fade both the color and delicate flavor over time.
- A jar of homemade guava preserve wrapped in brown paper and tied with twine has closed more conversations and started more friendships than I can count, so don't underestimate the power of giving it away.
 Save
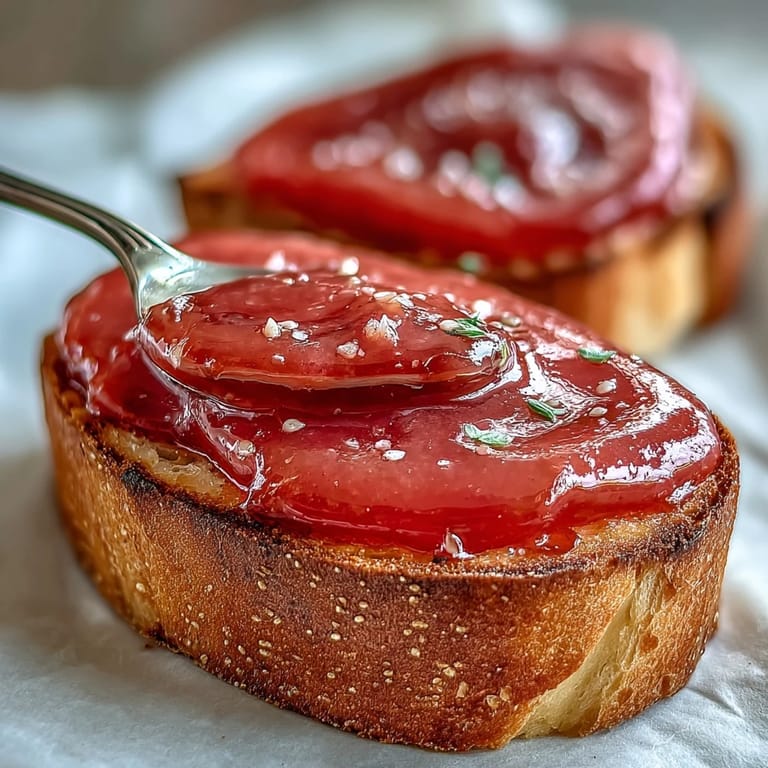
Save Making guava preserve taught me that some of the best things in life come from paying attention—to the smell of fruit ripening, to the exact moment a mixture shifts from syrup to jam, to the simple pleasure of spreading something you made with your own hands onto toast on a quiet morning. It's become my proof that any kitchen can produce something extraordinary, and that's worth all the effort.
Recipe FAQ Section
- → How do I know when the guava preserves are ready?
The preserves are ready when they reach a jam-like consistency after 35-45 minutes of simmering. To test, place a small amount on a chilled plate—if it wrinkles when pushed with your finger, it's done. The mixture should coat the back of a spoon and leave a clear path when you run your finger through it.
- → Can I use frozen guavas instead of fresh?
Yes, frozen guavas work well for preserves. Thaw them completely before starting, and drain any excess liquid that accumulates during thawing. You may need to adjust the cooking time slightly since frozen fruit can be softer, but the final result will be equally delicious.
- → What's the best way to sterilize jars for preserves?
Wash jars and lids with hot soapy water, rinse thoroughly, then place them in a large pot of boiling water for 10 minutes. Keep them in the hot water until ready to fill, or place them in a 225°F oven for 10 minutes. This ensures harmful bacteria are eliminated before canning.
- → How long will these preserves last?
Properly sealed and stored in the refrigerator, these guava preserves will keep for up to 3 months. For longer shelf life, process the filled jars in a boiling water bath for 10 minutes, which allows storage at room temperature for up to a year. Always check seals before consuming.
- → Can I reduce the amount of sugar in this recipe?
You can reduce the sugar slightly, but keep in mind that sugar acts as a preservative and helps achieve the proper consistency. Reducing sugar by more than 25% may affect the set and shelf life. For a lower-sugar version, consider using a commercial pectin designed for reduced-sugar preserves.
- → What cheeses pair well with guava preserves?
Guava preserves pair exceptionally well with sharp cheeses like aged cheddar or manchego, as well as creamy varieties like brie or goat cheese. The sweet-tart flavor balance creates a sophisticated appetizer. Try it with cream cheese on crackers for a simple yet elegant snack.